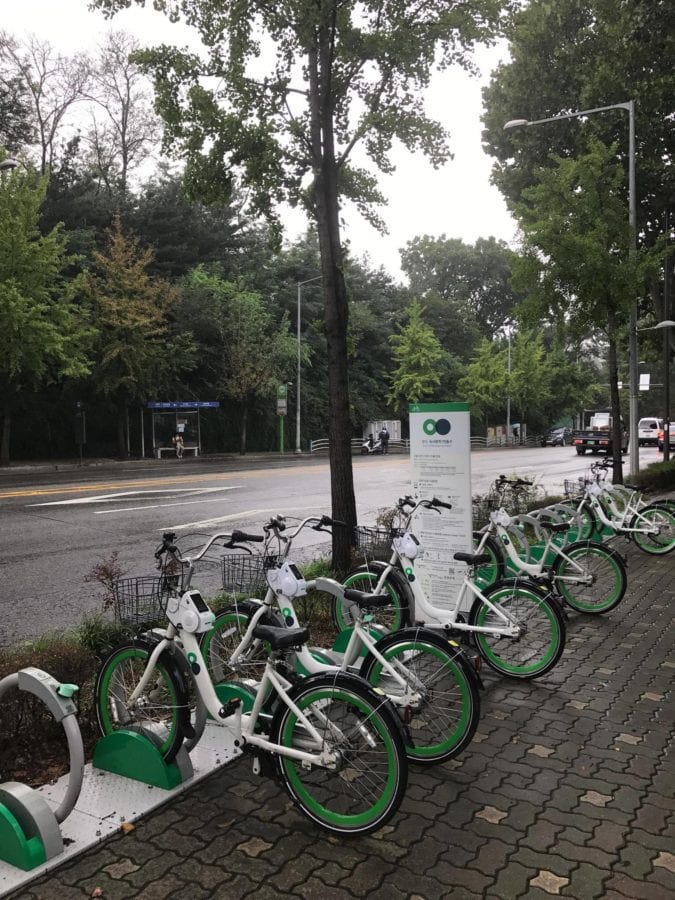
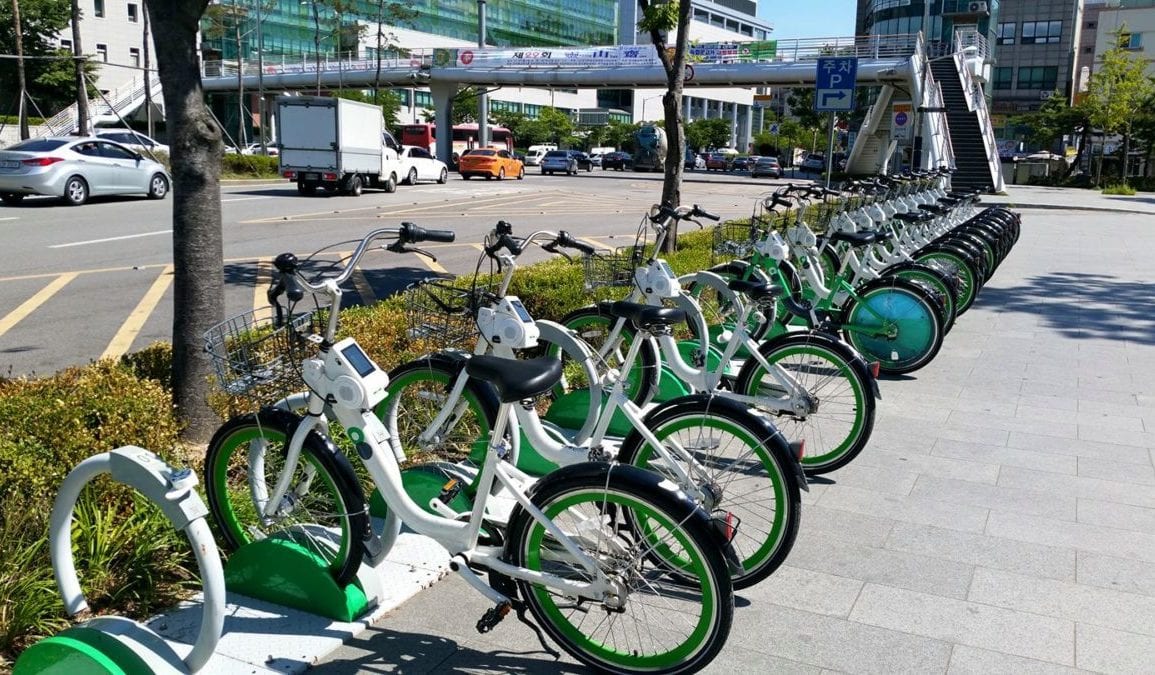
While bike riding might be daunting to some, it is undoubtedly one of the best ways to see a city. In 2015, Seoul joined the other 1000 cities around the world offering the bike-sharing system. Seoul Bike (or Ddareungi 따릉이), the Seoul bike rental system, now has over 800 stations all across Seoul.
There are two main types of bikes called LCD and QR. LCD is the original type of bike in the Seoul bike rental system, while QR bikes were added more recently (2020) to simplify the renting and returning system. While Seoul Bike has a website available in English where you can purchase tickets/vouchers to use the bike renting service, we recommend getting the Seoul Bike mobile app (Android / iOS ) for an overall smoother renting process.
Planning your trip with Seoul Bike

- Locate bike rental stations for both renting and returning. (Find bike stations at Seoul Bike or in the Seoul Bike mobile app)
- Make sure the station you have chosen has enough bikes available. The number inside the circles representing the stations is the number of available bikes, and it is updated in real time.
- Note that there are both green stations (LCD, QR bikes) and yellow stations (QR bikes only). Pay attention to this aspect and check in advance, as LCD bikes can only be rented from and returned at green stations. Depending on your destination and the stations around, make sure you rent the right type of bike.
Renting The Bike
Through the Website (LCD bikes only)
To rent a bike, you can register and pay anywhere via mobile or PC. Once you get your code, it is valid for 24 hours. If the code is not used within 24 hours, your money will be refunded. The pickup time and location is not required. The rental period time does not start until the bike is removed from the dock.

- Go to bikeseoul.com
- Select website language of your choice.
- Go to “Buy ticket” in the menu bar.
- Read the note and click on “Purchase a Pass”.
- Choose the type of voucher depending on length of time you want to rent the bike (Day voucher for 1 hour for ₩1000 / Premium day voucher for 2 hours for ₩2000 / Day voucher for one day for ₩5000). Every 5 minutes thereafter you will be charged ₩200.
- Select the method of payment and enter your credit card number.
- Agree to all terms and press “Make payment”.
- Enter the rest of your card information.
- Once the payment is successful, you’ll receive an 8-digit registration number.
Through the Mobile App (QR bikes only)

- Open the Seoul Bike (따릉이) mobile app and turn on Location and Bluetooth.
- Select “Foreigner” if you only have a foreign card or 비회원 (non-member) if you live in Korea and have a Korean bank account/KakaoPay/Payco/ZeroPay available. If you live in Korea, can read and understand Korean and you’re planning on using Seoul Bike more often, we recommend you sign up for an account (click on 회원 – “member” -> 회원가입 – “sign up” -> create an account or sign up with a Kakao or Naver account).
- Click on “Purchase Pass”
- Choose the type of rental pass you want (same as described for LCD)
- Choose “Credit Card” for the payment method, input a valid e-mail address and agree to all conditions
- Finalize the payment and your pass will be available in the app.


Unlocking The Bike
LCD Bike
- Press the power button located on the screen of the bike.
- Press the “Foreign Tourist” option.
- Enter the first four digits of the 8-digit rental number. Wait a moment for the next screen.
- Then enter the last four digits of the 8-digit rental number.
- Remove the green lock on the side of the bike and pull out the bike.

QR Bike
- After you purchased your bike pass, open the app and press the “Rent” button.
- Scan the QR code found on the device placed on the rear wheel of the bike, under the seat. (Remember, your Location and Bluetooth need to be ON!)
- Wait for a few seconds until the device unlocks (with a loud “clack” usually) and an audio message tells you the bike is now unlocked and ready to use.
Locking Up Your Bike During The Trip
LCD Bike
- Stop the bike at your desired location.
- Unravel the cable lock located on the left side of bike.
- Secure the lock through a nearby fixture or around the wheel of the bike and then connect it to the slot on the right side of the bike.
- To unlock your bike, press the home button and re-enter your 8-digit number.
QR Bike
- Stop the bike at your desired location.
- Pull down the sliding lock placed on the rear wheel of the bike, below the seat (a message will show up in the app saying your bike is now temporarily locked).
- To unlock your bike, press the “Temporary unlock” button in the app.
Returning the bike
LCD Bike
! You can only return LCD bikes at the green rental stations on the map.
- Place the bike back onto the rack and secure the lock into its place.
- If there are no available racks for your bike to be returned, connect your bike to another docked bike by securing its supplementary lock (white lock) to yours.
- Make sure the lock is properly secured as there is a ₩200 additional fee per 5 minutes after original rental period.

QR Bike
- Put the bike in a docking station at any of the rental stations on the map (green or yellow).
- Pull down the sliding lock on the device on the rear wheel of the bike (make sure your Location and Bluetooth are ON during the stage).
- Wait for an audio message and a message in the app saying that the bike has been successfully returned (sometimes this can take up to a full minute, so don’t worry if you don’t get it instantly).
Membership for Seoul Bike Rental
If you’re looking to rent bikes frequently, look into buying a membership (정기권). In order to buy a membership, you must first make an account. For ₩5,000, you can get daily 1-hour-at-a-time usage for one month (₩7,000 for daily 2-hours-at-a-time) . For ₩30,000, you can get the same for a year (₩40,000 respectively). At such an amazing price, we recommend this for anyone who rents bikes often.
How to buy a Membership
- Download the Seoul Bike Rental (따릉이) app from your app store.
- Create an account (or sign up using a Kakao or Naver account)
- Go to “Purchase Pass” in the bottom menu bar.
- Press on “정기권” in the top bar.
- Choose which membership you want (1-hour or 2-hour passes, and length: 7 days/30 days/180 days/365 days), and follow the purchase instructions.
When renting your bike, there’s no need to reserve the bike beforehand through the app, just walk up to a bike, rent and enjoy your ride!
Contributor: Jayde Kim, Ramona Albu


